

How to Create Your First AI Image with ImageWish
Follow the steps to describe an image, choose a model, add references, verify your email, check credits, generate and download your result.
You can start with a text description, with or without reference photos. This guide takes you from a blank workspace to a result you can review and download.
The screenshots show the current interface with demo account and result data. They explain the controls; they are not a comparison of model output quality.
1. Describe the image you want
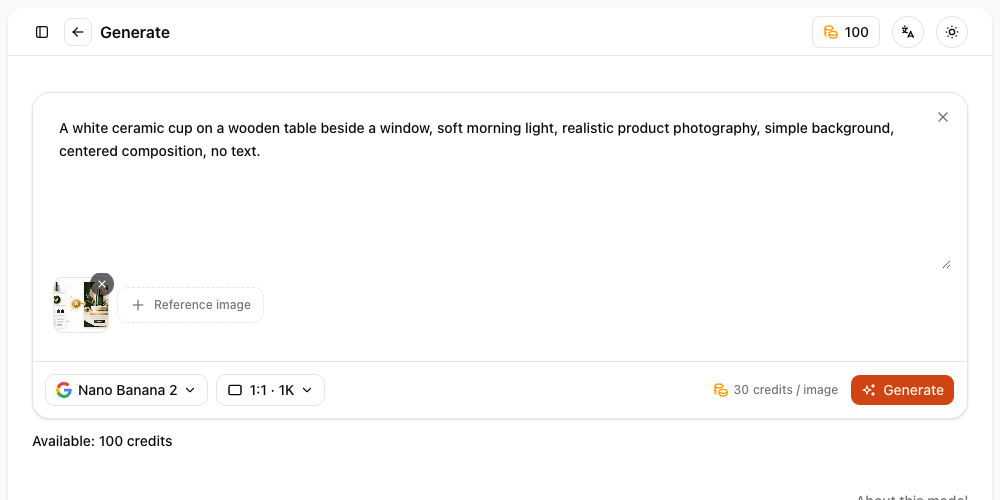
Open the creation workspace. In the prompt field, describe the subject, setting, style and composition. If the image needs words, write the exact text and where it belongs.
For a first attempt, you can copy this description:
A white ceramic cup on a wooden table beside a window, soft morning light, realistic product photography, simple background, centered composition, no text.
2. Choose a model and image settings
Open the model selector and choose an available model. If you are unsure, use the model selection guide to compare suitable tasks and practical limitations, then return to your workspace.
Open the size settings to choose an aspect ratio and resolution. For example, 1:1 gives a square composition and 16:9 gives a wide composition. The available resolutions and quality controls depend on the selected model.
3. Add reference images if you need them
To guide the appearance of a product, person, layout or style, use the reference-image control to select your own files. References are optional: text alone is enough to submit a task.
You can add up to five JPEG, PNG or WebP images, each no larger than 10 MB. Explain what each reference should control and what the model may change. A reference does not guarantee that every detail will be preserved.
4. Sign up and verify your email
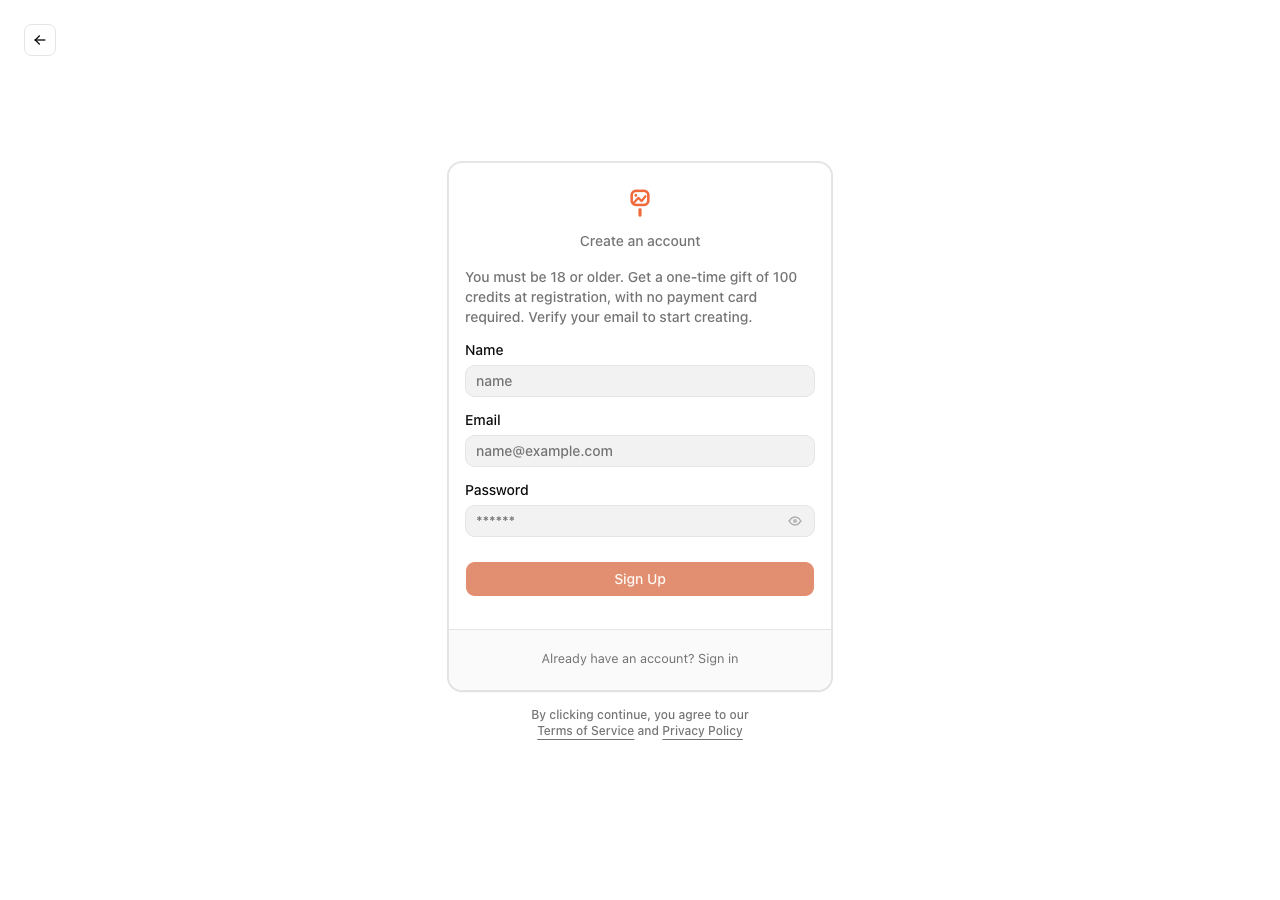
If you do not have an account, open Sign up, enter your name, email and password, and submit the form. Open the verification email and follow its link. Then sign in with that account and return to the workspace.
New accounts receive 100 welcome credits once. Email verification is required to use them; no payment card is needed to start.
For the smoothest first attempt, complete registration before adding reference files. After a full-page sign-in or refresh, check your description and settings and reselect any reference files that are no longer shown.
5. Check the cost before submitting
Confirm the selected model, size, references and current balance. The credit cost for the current settings appears beside Generate. Changing a model or resolution can change that cost.
If your balance is too low, choose settings within your balance or visit Pricing for one-time credit packs. There is no subscription or automatic renewal, and credits never expire. The model guide also lists starting costs; the workspace shows the cost of your actual selection.
6. Generate and follow the task
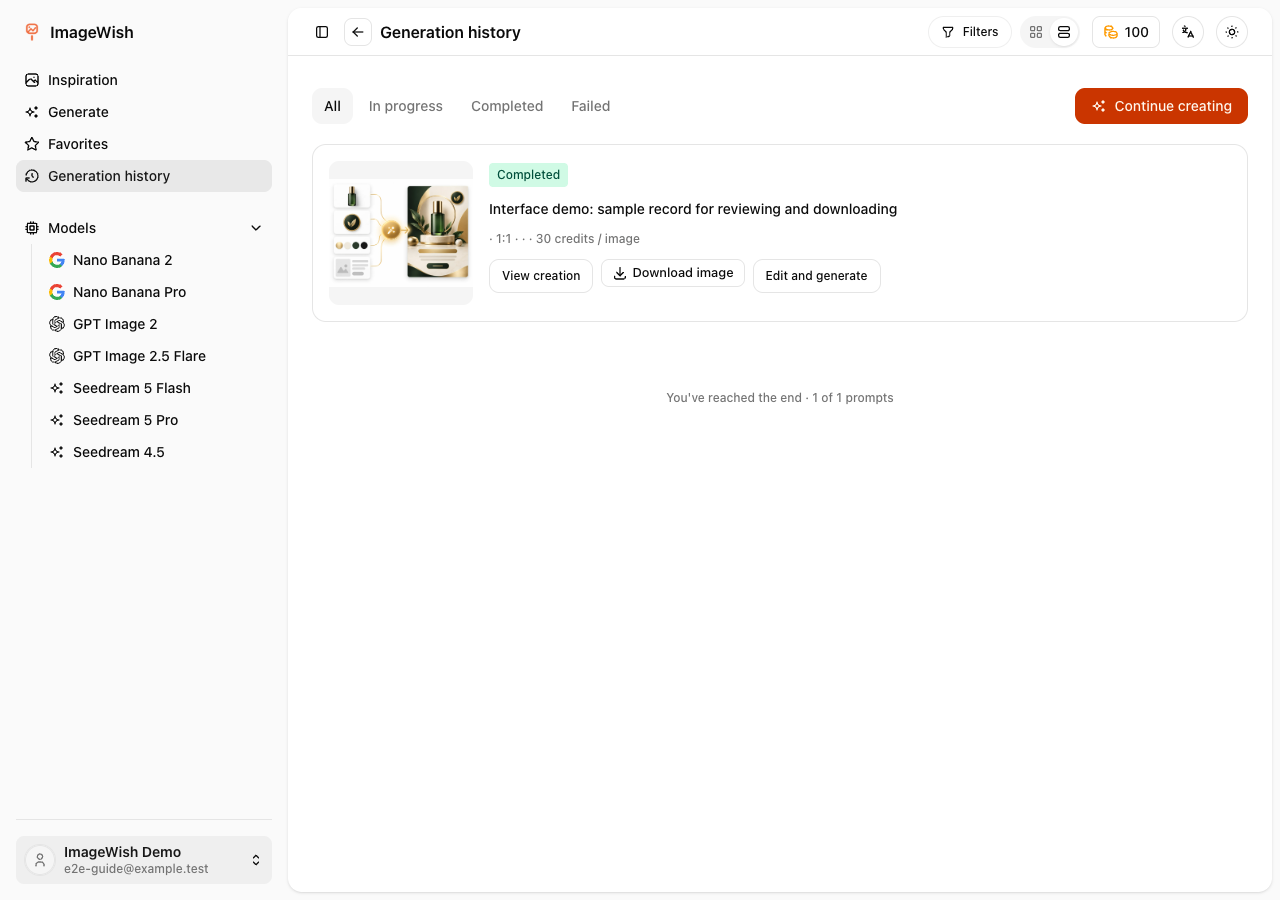
Click Generate once you are ready. After the task is accepted, ImageWish opens Generation history, where you can follow its progress. A submitted task may be pending or processing before it completes.
Avoid submitting the same request repeatedly while it is still running. You can return to History after navigating away or refreshing. If a task fails, inspect its status before trying again; generation credit returns and payment refunds are separate processes.
7. Review and download
When a record is complete, open its image to inspect the result and use Download to save the available file. Check text, important product details and composition before using it.
To revise a result, use the record's edit action to return to the workspace. Change the detail that needs improvement, review the settings and cost, and submit a new task when ready. Another generation uses credits.
Ready to try it? Open the workspace, or compare models first.